 My husband and I recently took our very first cruise. We chose the Carnival Liberty because it’s an older and more affordable ship. I had read and watched many blogs and videos on cruising to help us be prepared. Plus two of our dear friends have cruised and gave us plenty of tips and advice (thanks Regina and Stacey).
We stayed at The Country Inn in Port Canaveral and they let you park your car there and will shuttle you to the ship for a small fee. It was totally worth it to not have to worry about where to park and luggage because the hotel took care of all that as well. 
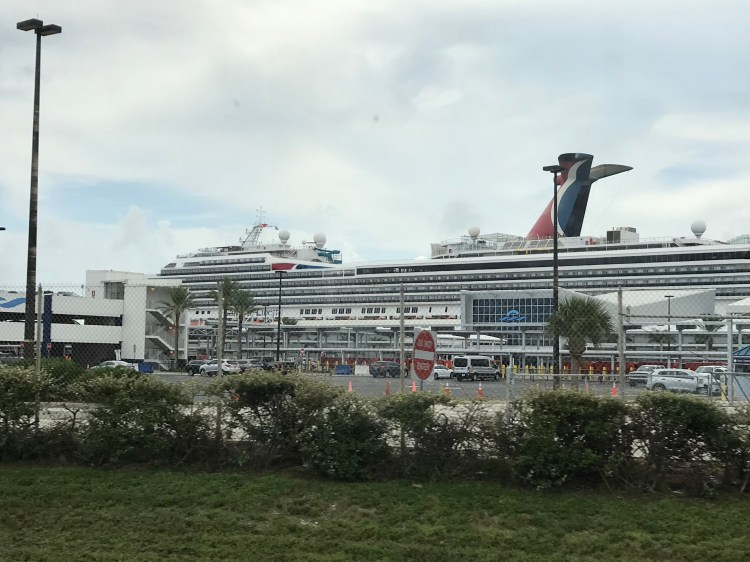
When we arrived at the port we got off the shuttle and Carnival has employees everywhere directing you where to go. Our arrival time was for 1:30 and the hotel only offered an 11:15 shuttle so we had to go early but because we had purchased the FTTF (Faster To The Fun) we got to board early, not only did we get to board early but we got to go through the priority line with absolutely no wait, no lines whatsoever. So here we are getting on the ship 2 hours earlier than expected. The process was so easy. We had our passports ready even though you can use birth certificates just the same. 
We were so excited, finally our first cruise. Justin had been wanting to go on one for so long and was finally getting to cash in his Father’s Day gift.
The first thing we did was take a small video and a couple of pictures of the main lobby and stairs so we could show the kiddos for when we got back home. It was absolutely beautiful inside the ship. 
Then we headed to explore the rest of the ship. We found the casino, although we did not gamble or play but they had tables and chairs all along the windows so it was nice to sit and enjoy the views 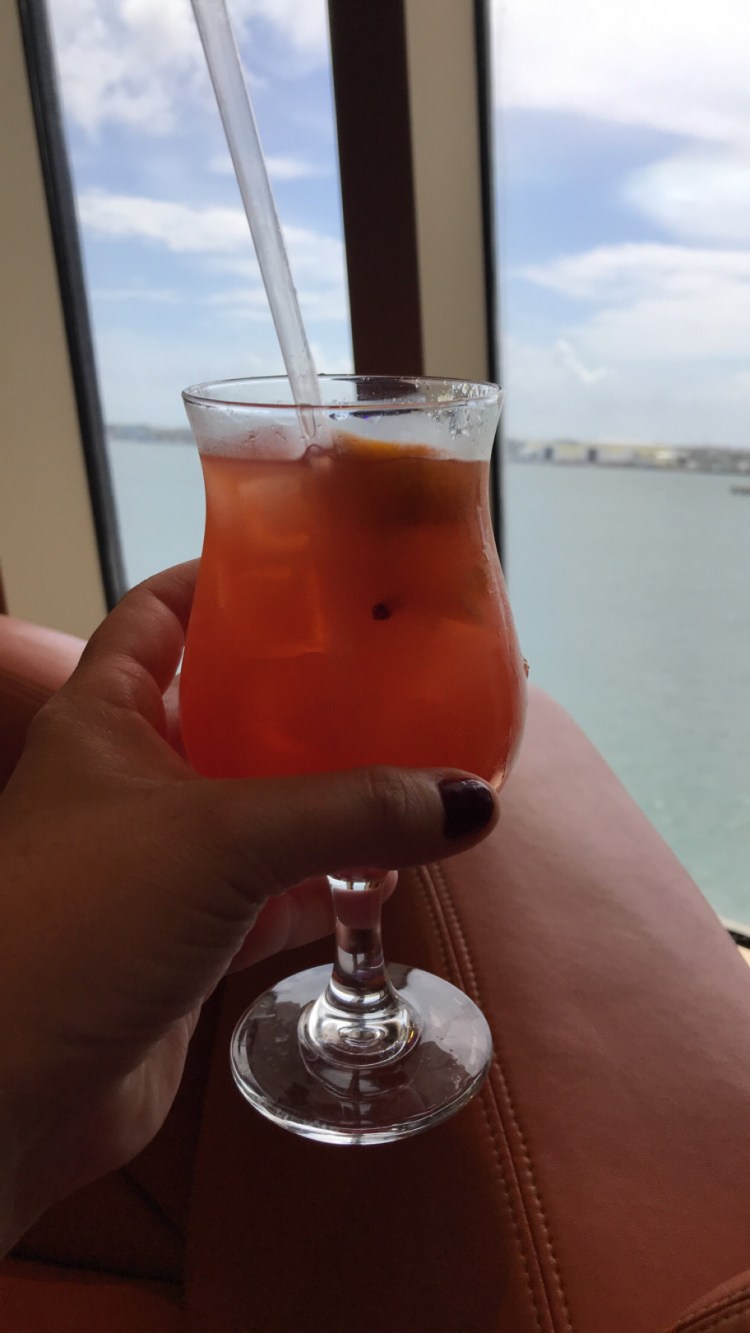
We also found the most important bar on the ship. The Coffee Bar, thank goodness we had the cheers package because those lattes were expensive, but well worth because they were the best I have ever had .
We got coffee from the coffee bar every morning and took it to breakfast with us. They do offer free coffee in the buffet area but it was very very strong and no amount of creamer or sugar fixed it lol. Once we found everything we needed to, it was off to the Lido deck for lunch and relaxation. We hit up Guys burgers, which was amazing. I had heard about how good it was and that it was a must on the ship and boy was it. 
After lunch we went up to the top deck where we relaxed, enjoyed the views while waiting to sail away. It was breezy and so nice. I’m not going to tell you every step of our cruise but I do want to point out about how easy embarkation was and how much fun it was just being at the port and on the ship. We hadn’t even left yet and were already having a blast. 
Did I mention we got the cheers package, of course I did, get the cheers package. It’s definitely worth it. 
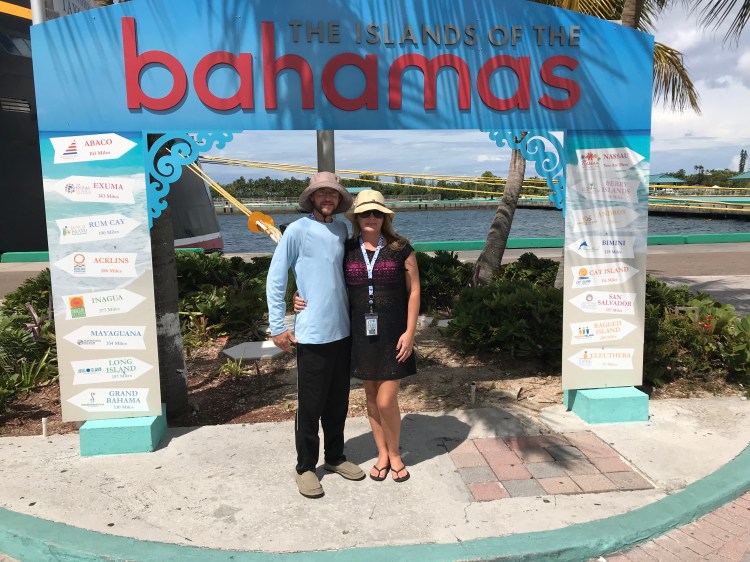
The next day was port day which means we were going to be at the Bahamas, Nassau to be exact. We did not do an excursion because we really wanted to just enjoy the ship and the area and kinda get a feel of how it all works. However, next cruise we will definitely book an excursion. We did explore a bit and we swam in the ocean. Most people were off on the island so the ship was almost empty, which was what we wanted. That night was formal night and it was really fun to dress up for the night. My dress was more of a cocktail type dress instead of formal but so was everyone else’s so I was glad I went with that style.

Sunday was sea day so we did a lot of relaxing and eating. The food was amazing, whether it was at the dining room or buffet, it was all good 
When it was time to get off the ship, we all got off by deck number. We decided to take our luggage with us, which was a good choice because by the time they called our deck (which was deck 2), we got through all the lines & got outside the hotel shuttle was there waiting to take us back to our car. It was an easy debarment process and we were in our car headed home by 7:30 am Monday morning. It was a wonderful cruise, and the staff was amazing. We can’t wait to book our next one with the whole family. The girls are really excited to be going on one after seeing all our pictures and hearing about how fun this adventure was. So with all that I would like to share a few things that helped make things easier and also a few thing that I brought that I didn’t need.
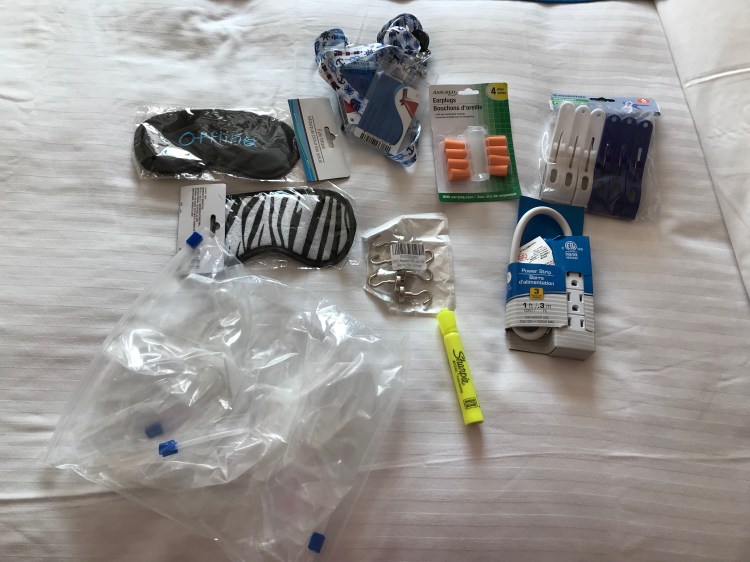
1. Lanyard with the key ring– The lanyard was probably the best thing I brought with us, our sign and sail card already had a hole punched in it when we got it. If yours doesn’t have one just ask and they will punch a hole in it for you. You use your S&S card for everything on the ship so you will constantly be taking it off and handing it over to staff. We got the ones that have the snap (from Amazon) so it could easily be undone without having to take our whole lanyard off. 
2. Power strip– Definitely bring a power strip. Our room only had 1 plug so I bought one from dollar tree and it worked perfectly for our cell phones and my curling iron.
3. Clothes pins – The shower in our bathroom had a clothes line so I bought the big plastic clothes pins from dollar tree to hang out swim suits and towels on to dry. They held up perfect and just only $1. You can also use these as towel clips out on the Lido deck.
4. Water bottle – We brought a water bottle that I had bought at Walmart and thank goodness we did because the little cups they give you at breakfast and lunch are little and the lines for water and juice can get kinda long. So we brought our water bottle and filled it up with ice water. It came in handy while sitting out on the deck or in our room and saved us from having to walk back to the juice/water machine. You can purchase soda but they give you a plastic cup and with ice and you have to wait in line at the bars to get them. Plus you can take it off the ship when you go do excursions and it saves you from having to buy bottled water on the ship.

5. Magnetic hooks– The walls in the cabins/staterooms are metal and space is limited so I purchased a pack of magnetic hooks from amazon. We hung our lanyards, jackets, daily activities, & etc. it helped keep our counter space clutter free.
6. Dramamine – I’m definitely glad we brought something for motion sickness, our first and last night on the ship was pretty rocky. Even though we did book in the beginning of hurricane season and a tropical storm was out there our captain did a fantastic job going around all the rain. Also, a staff member had mentioned eating apples so we snagged a few from the buffet bar and it really did help.
7. Carry On Bag – Just like on an airplane you take a carry on bag on the ship. Mainly because you will need to keep important documents, money, medicine, and things like that on you while boarding the ship. Sometimes it takes a while for your luggage to make it to your stateroom when you first get on the ship. Ours wasn’t to our room till around 3 on embarkation day. In our carry on book bags we had our swimsuits so we could swim even though our luggage wasn’t at our room yet, an empty gallon size ziplock bag (for wet swimsuit), our documents/passports, Dramamine medicine, water bottles, swim towel (carnival does provide swim towels), small drawstring bag for exploring the ship and at port for exploring the island/ports.
Cruise Luggage tags– When you book your trip you will print off boarding documents you will need for the cruise and luggage tags are one of them. I ordered cruise luggage tags from amazon for you to put your room information in. They were very secure so our luggage made it to our room safely 
Small fan– Yes, am one of those who sleep with a fan year round. The rooms do have air and ours worked very well but it did not put off any noise so our room was very quite, weird I know!! I brought a small desk top USB fan to use at night in our room. Next cruise I will be sure to bring an extension cord for it as well so I can put it on the table beside the bed.
Air fresheners-The bathrooms are small and you are on a ship so they can get a little stinky, I brought air freshener from the $1 isle and I did use it when we would use the bathroom in our room.
Travel toiletries bag- it was recommended to bring an over the door shoe holder but since it was just my husband and I we didn’t think it was necessary and it wasn’t. Maybe if was the whole family it may have been but the toiletries bag with hook worked just fine for us two. The ship provides shower gel and shampoo so bring conditioner. The bathroom had two hooks on the inside door so I used them for my laundry bag and toiletries bag.
Things that I didn’t need that I had read we would need to bring
Sleep mask– the room was pretty dark with the blackout curtains, however we had an ocean view room and not a balcony.
Ear plugs- we never used those at all. We were on the 2nd deck so it wasn’t noisy. If you stay near the Lido deck you may want to bring some just in case.
Beach towels- Carnival provides swim towels, just make sure you return them back to the room or they will charge you for them.
Half the Clothes I packed- we stayed in casual/swim clothes most of the time so we didn’t wear half of what we brought.
Snacks- I had read we would need snacks for waiting at the port while boarding and while at port in the Bahamas but we didn’t eat not the first snack we brought. There is plenty of food on the ship, I promise you won’t starve.
Thank you so much for reading and I hope this helps anyone preparing for their first cruise. I must say I was very nervous about being on a ship but it was one of the best and most relaxing vacations I have ever taken.


 She has already been to Yellowstone National Park to see Old Faithful which is a landmark on her map. So hopefully by the end of summer she will have at least 4 more landmarks seen by the end of summer. Our family is blessed to be able to homeschool and travel when we can.


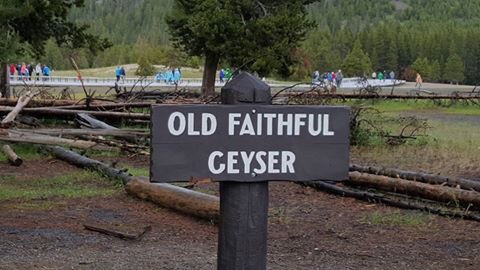
 She has been excited about the Statue of Liberty since first grade when she watched a homeschool pop video about it. By the way, homeschool pop is on YouTube and it is a good learning resource for all you homeschool mamas out there. Emma Grace learns better with visuals so that resource has been a great help to us to add to her lessons. I’m so glad that my sweet girl likes to travel like her mommy and camp as well. She is definitely going to #seetheworldwithcamping
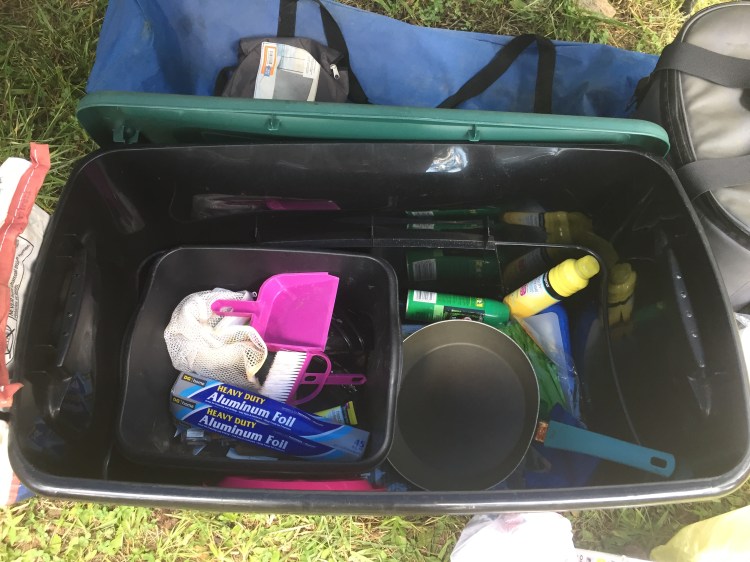 Inside my camp kitchen tub are the following items: